If you are looking for an easy craft, it doesn’t get much simpler than a sharpie mug. I had seen several examples online and decided it would be a fun rainy day activity to try with the kids.
Items you need to do this project:
- A mug (or a plate will work too).
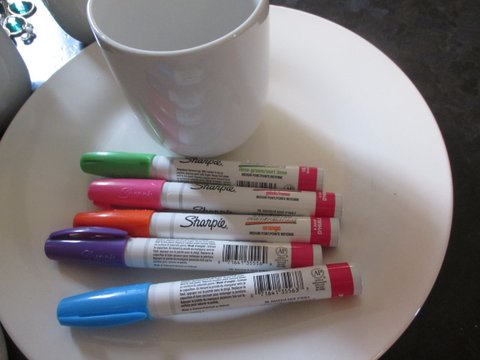
- Oil based paint Sharpies
** A note about the sharpies. They need to be the oil-based ones or your masterpiece wont survive the dishwasher. You can find them at WalMart in the art supplies area by the paint. You wont find them in the office supplies area. You can also get them from Amazon:
I loaded the kids into the car to go collect our supplies. We stopped by the Dollar Tree first to look for mugs. They didn’t have any white mugs. They did, however, have plates that would serve as a good canvas. So, I decided to pick up a few of them. Not a bad investment at $1 a piece.
Next stop was Target, but I couldn’t find the Sharpies I needed there. So, we went to WalMart and, at the insistence of my eldest, I decided I should ask someone if they had the kind we needed. Eureka! They were NOT with the office supplies. They were by the acrylic paints. There was much rejoicing!
On our way out, I checked out their mug inventory. They had mugs for .88. Yay! I got some of them for the kids and I picked up one that was a little more than a dollar for me to use because I wanted one that was a bit larger.
Behold, my blank canvas and fun new pens!
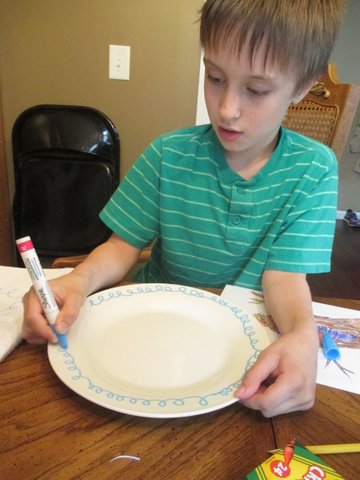
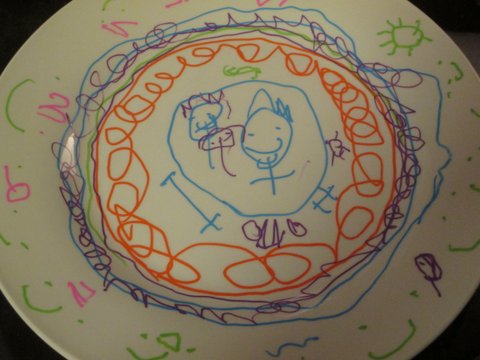
The kids went to work on their plates.
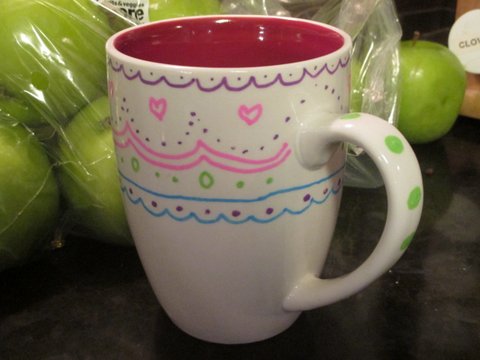
And I did a mug. I just copied a design I found that I thought was cute. My children were amazed at my artistry! Ha 🙂
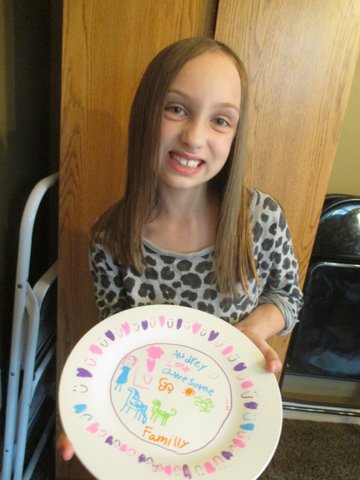
We had some differing levels of artistic talent and expression . . .
According to the 5,347 sharpie mug posts I’ve read online, the trickiest thing is to make sure the paint doesn’t come off. There was general agreement that you need to do these things to finish your preserve your masterpiece:
- Use Sharpie Oil-based paint pens
- Let it sit overnight (one person suggested several days)
- Put it in a cold oven, set temperature to 350 and set the timer for 30 minutes.
- Turn off oven and let sit in the oven and cool.
It was so fun! If you need some ideas for designs, you can find a million places online to inspire you. There are some cute ideas here. If you do this project, be sure to let me know how it turned out!
**** Edited to add that I finished this project and followed the directions in cooking the mugs and plates afterward and we have had great success! I’ve ran them through the dishwasher and all the artwork stayed put! ****
Does it matter if you let it sit overnight before you put it in the oven?
I am not sure. It may not matter. I waited and did the oven thing, let it cool off and it seems like the design is set!
I’m so happy to hear that this worked out for you, they all look so great! I’ve heard complaints about the colors fading or getting ugly after baking – it sounds like that wasn’t an issue for you??